Optimize E-Commerce Images: Reduce File Sizes Without Quality Loss
Learn how to optimize your e-commerce images to reduce file sizes without sacrificing quality. Boost your site speed, improve user experience, and increase conversions by effectively compressing images.


How to Optimize E-Commerce Images to Reduce File Sizes
Slow-loading websites drive customers away and directly benefit your competitors.
In e-commerce and other related fields, every millisecond counts. Optimizing image file sizes is crucial for faster websites and high-quality visuals. If your website loads slowly, its bounce rate will increase, and its conversion rate will decrease.
For decision-makers, this simple step enhances user experience, increase conversion rates, and keeps you competitive. Start optimizing today and watch the impact on your bottom line.
Image File Sizes Reduction
When you need to resize an image, you want to do it without losing quality. Fortunately, there are many tools available that can help you achieve this.
Challenges of resizing images without losing quality
Resizing images can be tricky because reducing the size also means cutting down the number of pixels. The more you reduce the pixels, the more the quality can suffer. But don't worry there are smart ways to resize your images and keep them looking great.
Why Reducing Image File Sizes Matters for Online Shop
Large image files can cause several common issues like slow website loading times, increased storage needs, and longer sharing times, all of which can disrupt your websites workflow.
Optimizing photo file sizes is essential for faster ecommerce Websites, better user experience, and efficient storage management. Big, high-resolution images can slow down websites, increase transmission times, and take up unnecessary storage space.
By reducing image sizes without sacrificing quality, you can improve website performance, boost SEO, and enhance content delivery across platforms like social media and email.
A case study of e-commerce data from 20 websites and 27,000 landing pages showed that loading speed directly impacts conversions. Proper sizing, lazy loading, encoding images, and using recommended image formats are all essential for a high conversion rate.
However, high-quality visuals are still crucial for online stores. Clear, well-formatted images convey professionalism, while blurry or poorly sized images can make a store seem less trustworthy.
It’s important to use the right image size and quality to maintain trust and showcase products effectively. This is something web developers and clients often overlook, but it’s key to creating a successful online experience.
Marketplaces Where We Need to Reduce Image File Sizes
If you’re selling on platforms like Amazon, Shopify, Etsy, eBay, or Flipkart, optimizing your images is crucial. There are also some requirements for image upload on these sites, don’t forget to read them before uploading your product photos.
Amazon
Dimensions(px)
1000 (min), 2560 (recommended)
Format
JPEG, JPEG XL, BMP, PNG, GIF, most TIFF, AVIF, HEIF, HEVC, iOS Burst Photos, iOS Live Photos, HEIC, ProRaw, JP2, WEBP, and iOS Live
Recommended File Size
Keep under 1MB
On Amazon, optimizing your images is a must. Stick to JPEG, PNG, GIF, or TIFF formats, and aim for at least 1000 pixels on the longest side—2560 pixels for crystal-clear zoom. Resize strategically to keep your products shining.
Walmart
Dimensions(px)
2000 x 2000
Format
JPEG, PNG, BMP, WEBP
Recommended File Size
Keep under 1MB
For Walmart, where speed and quality are paramount, use JPEG, PNG, or GIF formats with a recommended 2000 x 2000 pixels. A quick resize and smart compression can make your images load faster and sell better. For details, you can read their “Photo Center Storage Policy” section by visiting.
eBay
Dimensions(px)
500 (min), 1600 x 1600 (preferred)
Format
JPEG, PNG, TIFF, BMP, GIF
Recommended File Size
Keep under 1MB
eBay demands clarity and zoom-ready images. Stick to JPEG, PNG, TIFF, BMP, or GIF formats, and aim for a minimum of 500 pixels—though 1600 x 1600 pixels is ideal for grabbing buyers’ attention.
Shopify
Dimensions(px)
2048 x 2048
Format
JPEG, PNG, GIF, BMP, TIFF, WebP
Recommended File Size
Keep under 1MB
Shopify’s dynamic themes and product galleries thrive on optimized images. Use JPEG, PNG, GIF, BMP, TIFF, or WebP formats, and go for 2048 x 2048 pixels to ensure your site runs smoothly, especially on mobile.
WooCommerce
Dimensions(px)
800 x 800 (or larger)
Format
JPEG, PNG, GIF, WebP
Recommended File Size
Keep under 1MB
WooCommerce sites need images that balance quality and speed. Stick to JPEG, PNG, GIF, or WebP formats, with 800 x 800 pixels or larger. Plugins like Smush or ShortPixel will keep your store fast and efficient.
BigCommerce
Dimensions(px)
1280 x 1280 (recommended), 2048 x 2048 (max)
Format
JPEG, PNG, GIF, TIFF
Recommended File Size
Keep under 1MB
BigCommerce requires consistency and speed, supporting JPEG, PNG, GIF, and TIFF formats. Opt for 1280 x 1280 pixels, or up to 2048 x 2048 pixels, and use progressive JPEGs to enhance loading times on all devices.
But it’s not just e-commerce. Other marketplaces like ThemeForest for web development, Mailchimp for email marketing, Google Drive for cloud storage, and the Google Play Store for mobile apps and gaming all benefit from reduced image file sizes and they have their own rules about media files.
Best Practices Before Reducing Image File Sizes
- Maintain Aspect Ratio: Keeping the correct proportions is important to avoid distorting the image.
- Gradual Resizing: Resize photos gradually to avoid drastic changes in quality.
- Start with High-Resolution Images: This ensures the best results after optimization.
- Adjust Compression Settings: Find the right balance between quality and file size.
- Use Plugins: On platforms like WordPress, plugins offer easy image optimization.
Methods for Reducing Image File Sizes
Resize the Image In Paints :
Resizing is one of the simplest ways to reduce file size. For Windows users, Paint is a handy tool, while Mac users can resize images through Preview. There are also online tools that make resizing easy. Maintaining the aspect ratio or customising the size as needed will help reduce file size without sacrificing too much quality.
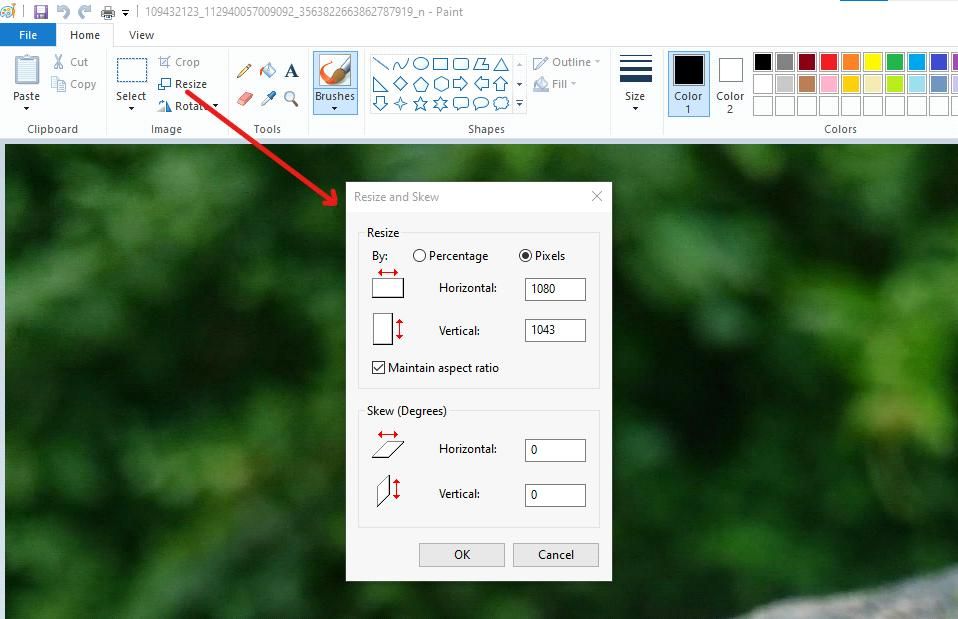
On Windows, you can go to Paint>Import your image>Click Resize> and then you will see the option to resize your option. You can resize them by percentage or pixels. In pixel, you can customize the size with or without maintaining the aspect ratio.
Resize the Image In Photoshop :
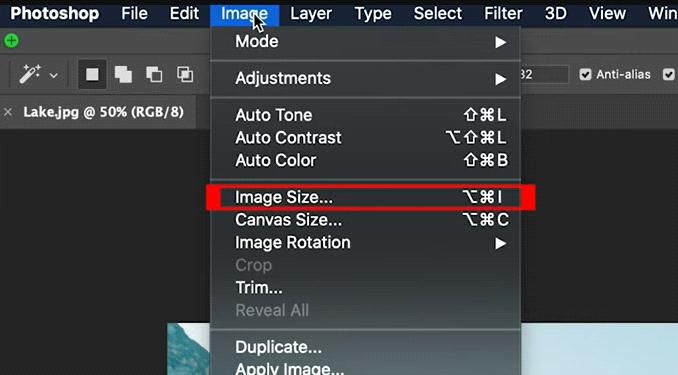
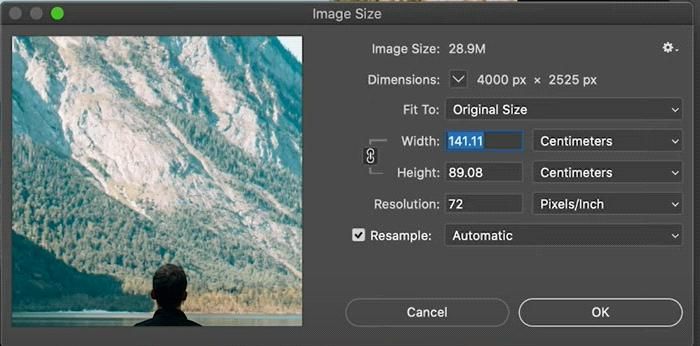
For example in Photoshop, go to Image>Image Size, and you will see there are options to customize the image size.
Compress the Image:
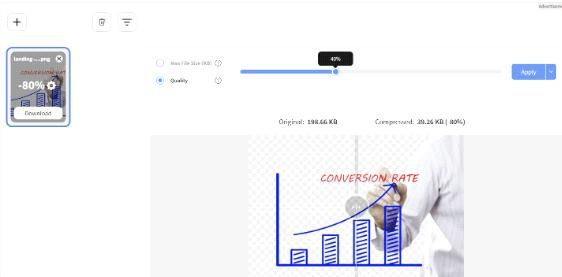
Image compression reduces file size by minimizing the amount of data needed to represent the image. Different formats like JPG and PNG compress differently.
Tools like Adobe Photoshop or online compression services can help you compress images by a specific percentage while maintaining acceptable quality. We used Image resize.com as an example of online to compress images.
Adjust Quality Settings:
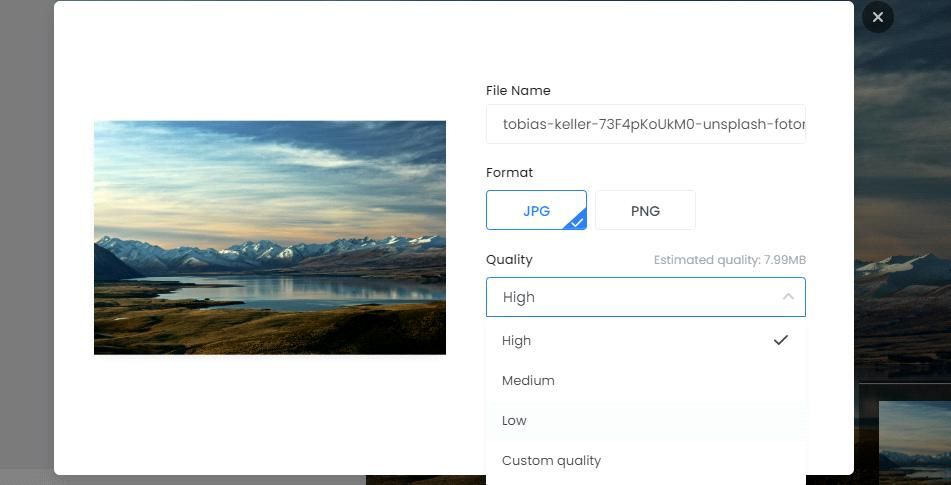
When saving an image, you usually have options to choose from—high, medium, or low quality. High quality retains most of the original quality but has a larger file size. Medium quality offers a balance, while low quality significantly reduces file size but may affect image clarity. Given screenshot is an example from an online photo editing site for, how to adjust image quality settings.
Remove Metadata:
Photos often include metadata, such as camera settings and location information, which can be removed to reduce file size. It is important to note that removing metadata may result in losing valuable information about the image. In some cases, it may not be very helpful to reduce file sizes.
Here’s how you can do it:
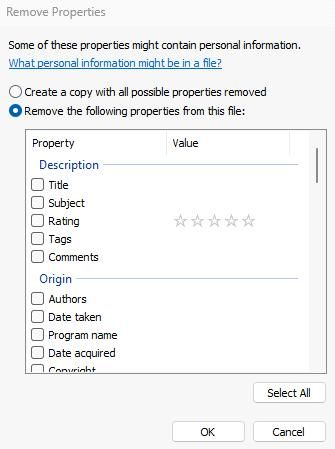
On Windows: Right-click the image file, go to Properties > Details, and select “Remove Properties and Personal Information.”\
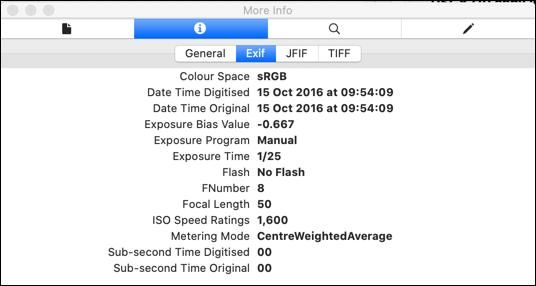
On Mac: Open the image in Preview, go to Tools > Show Inspector, and remove location data if available.
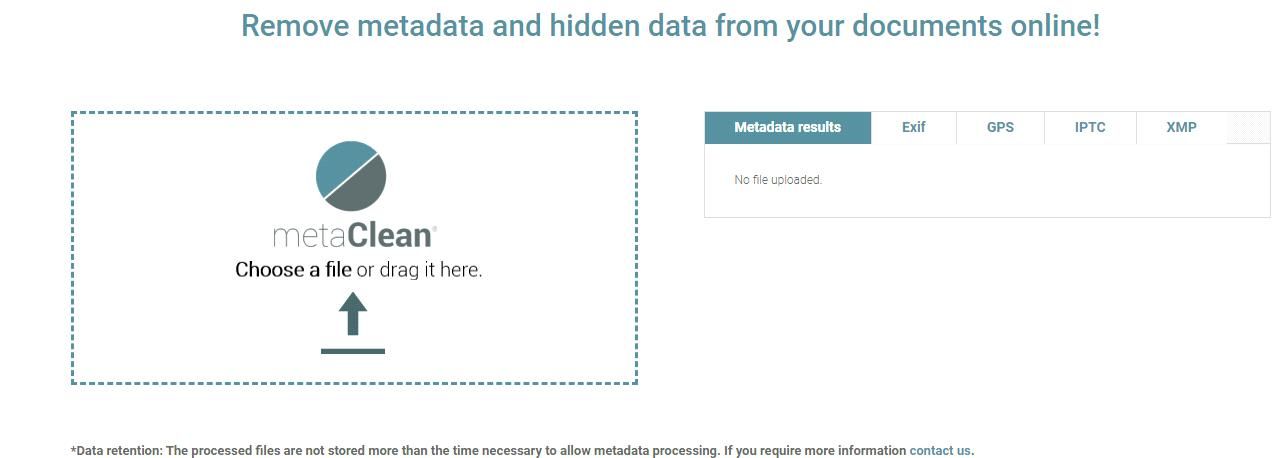
Online Tools: Several online tools can help you remove metadata from photos. Simply upload your image and follow the instructions.
Optimize Photos with WordPress Plugins

Using a WordPress plugin is an efficient way to optimize images for your website. Plugins like Smush, ShortPixel, and Imagify automatically compress images, resize them, and even strip unnecessary metadata, all while preserving the quality. These plugins can significantly reduce file sizes without compromising on visual appeal, making your site faster and more user-friendly.
Utilize a CDN for Image Optimization:
A Content Delivery Network (CDN) is a powerful tool for optimizing image delivery on your website. By distributing your images across multiple servers worldwide, a CDN ensures that users download images from the server closest to them, reducing load times and enhancing performance.
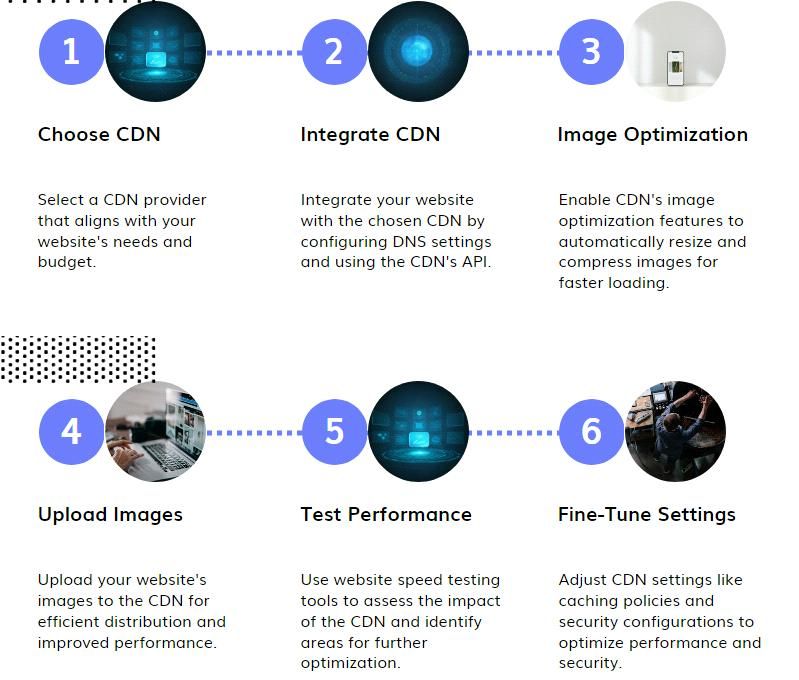
Many CDNs, like Cloudflare and Amazon CloudFront, offer built-in image optimization features, automatically resizing and compressing images on the fly.
Finally, With the right tools and techniques, optimizing your image file sizes can get be straight forward and highly beneficial. For e-commerce owners and managers, this means faster site load times, improved customer experience, and higher conversion rates—key factors in staying ahead of the competition. Studio Photoshop professionals will appreciate the efficient storage and seamless sharing, all while maintaining top-tier image quality that meets your clients' demands.
Implement these simple methods today, and see the positive impact on both your business and workflow. Whether you’re managing an online store or running a creative studio, optimizing images isn’t just a technical task, it’s a strategic move that can elevate your brand’s performance and productivity. Your bottom line and client satisfaction will thank you!
Ready to optimize your e-commerce images for faster loading times and increased conversions? Contact BZM Graphics today.
Written by
Isabella Garcia