Best Lighting Techniques for Product Photography: Enhance Your Images
The best lighting techniques for product photography. Learn how to choose the right lighting, equipment, and setups to create stunning product photos.
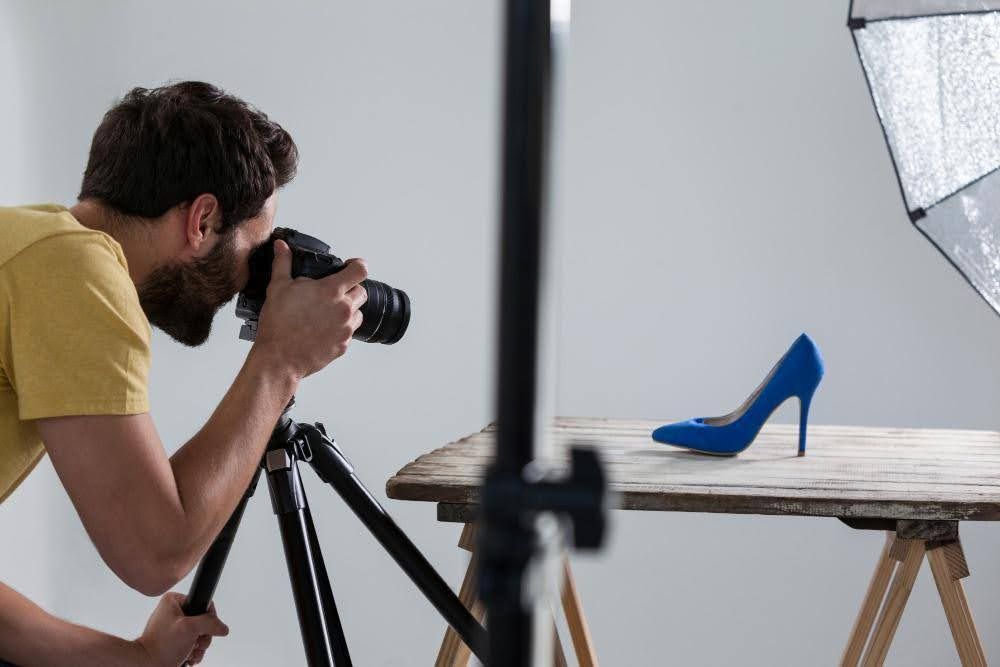
Lighting plays a pivotal role in product photography, as it has the power to make or break the overall quality of the images. Choosing the right lighting technique for your product shots can elevate your photos to a whole new level, capturing the attention of potential customers and enhancing your brand's visual appeal.
In this article, we will explore some of the best types of lighting techniques that can help you capture stunning product photos. From natural light to artificial lighting setups, there are various techniques that can be utilized to achieve desired results.
Each technique has its unique advantages and can be used to create different moods and aesthetics. Whether you are shooting small products for e-commerce or large-scale advertising campaigns, understanding the different lighting techniques will give you the necessary skills to create professional-looking images that stand out from competitors.
There are a lot of lighting gears that can make your product photos the absolute best. But for that, you need to use the right kind of gear.
No matter if you are a beginner or an experienced photographer, this article will provide you with valuable insights to enhance your skills and take your product photography to the next level.
The Importance of Lighting in Product Photography
Have you ever tried taking a product photo, only for it to turn out as a distracting scene? It's hard to focus on the main subjects! Distracting, isn't it? Well, we've all been there. That's why we're talking about the importance of product lighting. Good lighting can significantly improve your photos.
1. Improve Clarity:
Proper lighting ensures your product photos always come out clear and make the subjects stand out. Clear product photos are what grab your customers' attention the most online. They can easily see the quality of your product without needing to touch it.
2. Reduce Flaws:
Good lighting makes your product look flawless even in the darkest rooms. It sets the perfect tone for your product, allowing you to create any desired mood—whether bright and cheerful, soft, or luxurious. Good lighting ensures there are no imperfections or shadows near your products.
3. Reduce Customer Returns:
Have you ever bought something online, and when you received it, it turned out to be completely different? Of course, you don’t want the same thing to happen to your customers. Proper lighting can make your photos true to life. Customers will see what they get. Fewer bad surprises mean fewer to no customer returns.
4. Trust Builder:
Quality photos with great lighting always build trust among customers. Customers gain confidence by seeing your photos. Quality photos communicate top-notch products. They can help you achieve a higher profit margin. As quality photos convey high-quality products, you can charge more for your products.
Key Factors to Consider for the Best Lighting in Product Photography
When it comes to choosing the lighting, there are three basic elements you should always remember.
- 1: Direction of Lights
- 2: Intensity of the Light
- 3: Quality of your Light
No matter what type of lighting you prefer—natural or artificial—these three elements make a big difference in the result.
1. Natural lighting techniques for product photography
Natural lighting comes free of cost. All you have to do is look for the golden hours. It can be early morning or late afternoon when the sun provides gentle light.
For a strong natural lighting source, you can arrange the photo shoot at midday when the sun hits harder. But there are some cons. Natural lighting is unpredictable. You don't know when the weather will become cloudy and gloomy, or how intense the light will get.
That doesn't mean you can't get the best use of natural light. There are some ways to manipulate your natural lighting source:
Use Diffuser:
Take out your white curtain or sheer sheet to soften the harsh sunlight. It's like putting a soft-focus filter on your sunlight. It helps to smooth out the harsh shadows as well.
Use Reflectors:
Don't forget your reflector. You can use a piece of white cardboard as well. It helps to bounce light back on the product. Use a silver or white reflector for this purpose.
Find the right spot:
Look for that perfect photogenic spot that has the best lighting source. The best spot in that case is usually near a large window. But avoid direct sunlight, as it can create harsh highlights on your product.
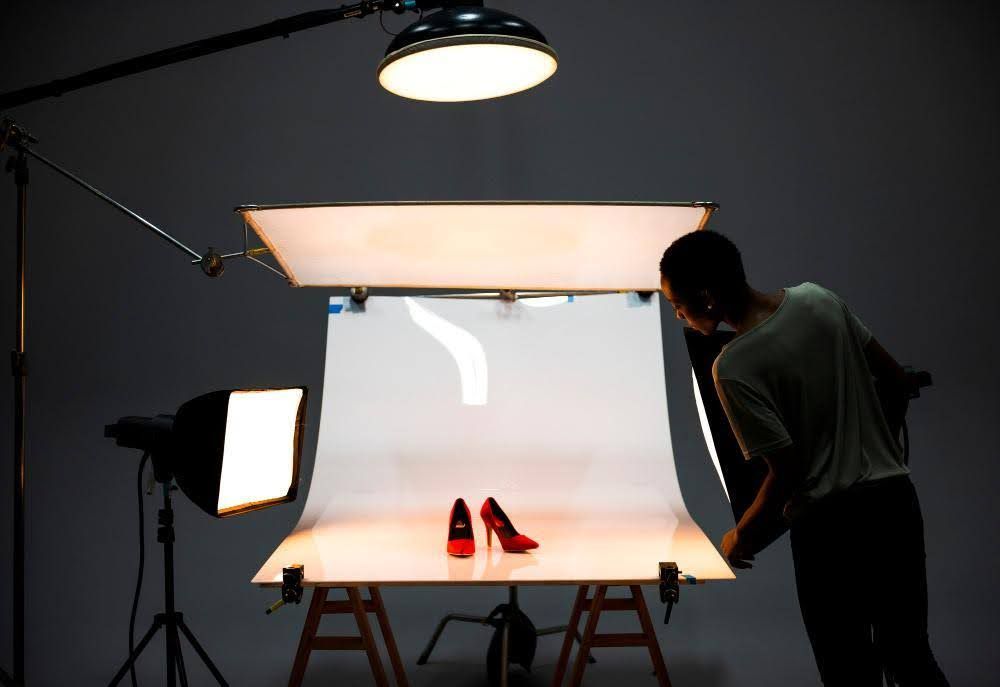
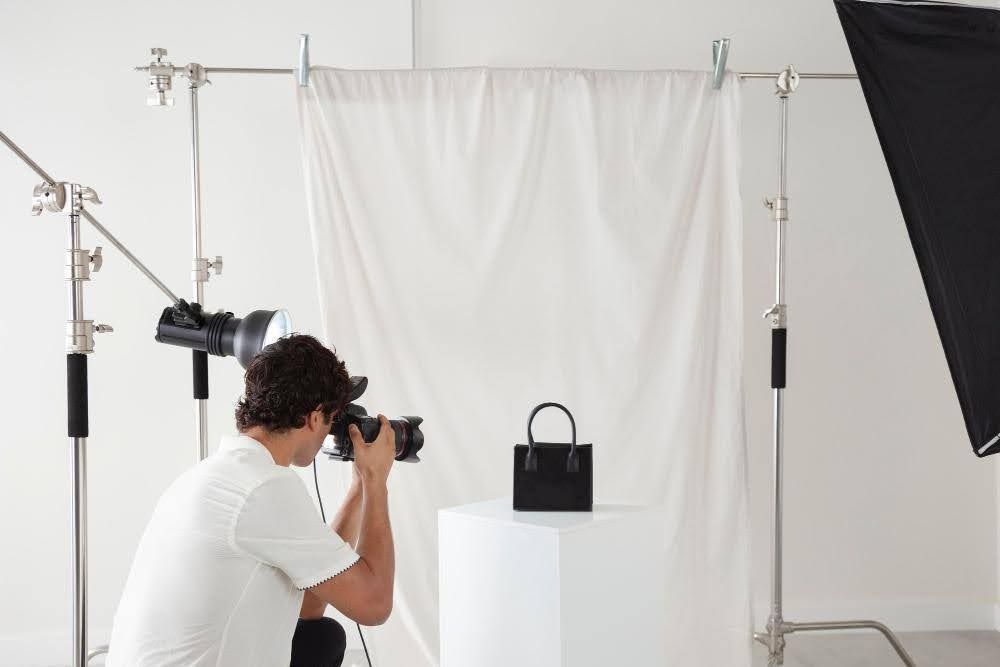
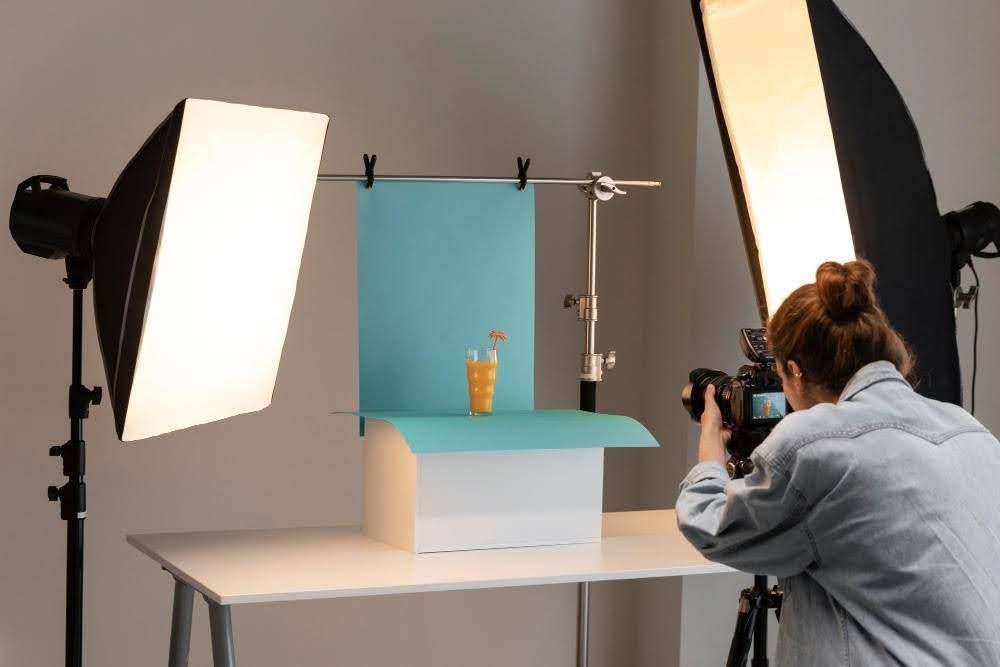
2. Studio lighting techniques for product photography
Mainly there are three-point lighting setups used:
- •Primary Key Light
- •Fill Light
- •Back Light
The key light is the main source that showers light directly on your products. The fill light is placed opposite the product to fill the shadows. Lastly, the backlight is placed behind the product.
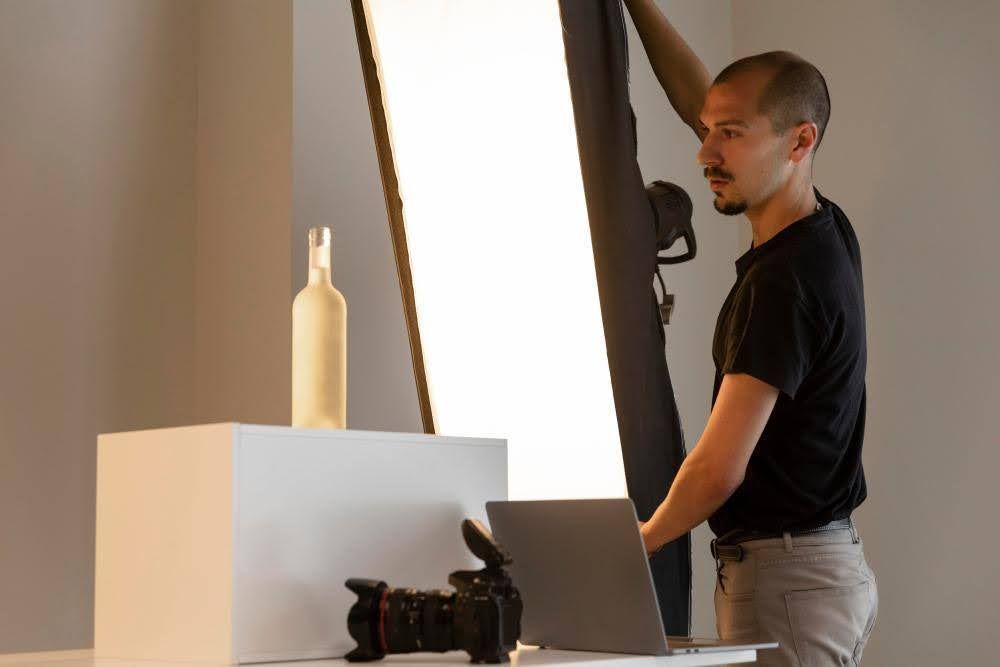
For continuous lighting, you need a good lighting source like LED bulbs. If you're a newbie, LEDs are your best friend. On the market, you can find various types of lights like fluorescent and incandescent tungsten. LEDs generally create less heat compared to other bulbs, and a good one has a dimmer. It helps to adjust the intensity. You can follow some techniques here as well to get studio-like results.
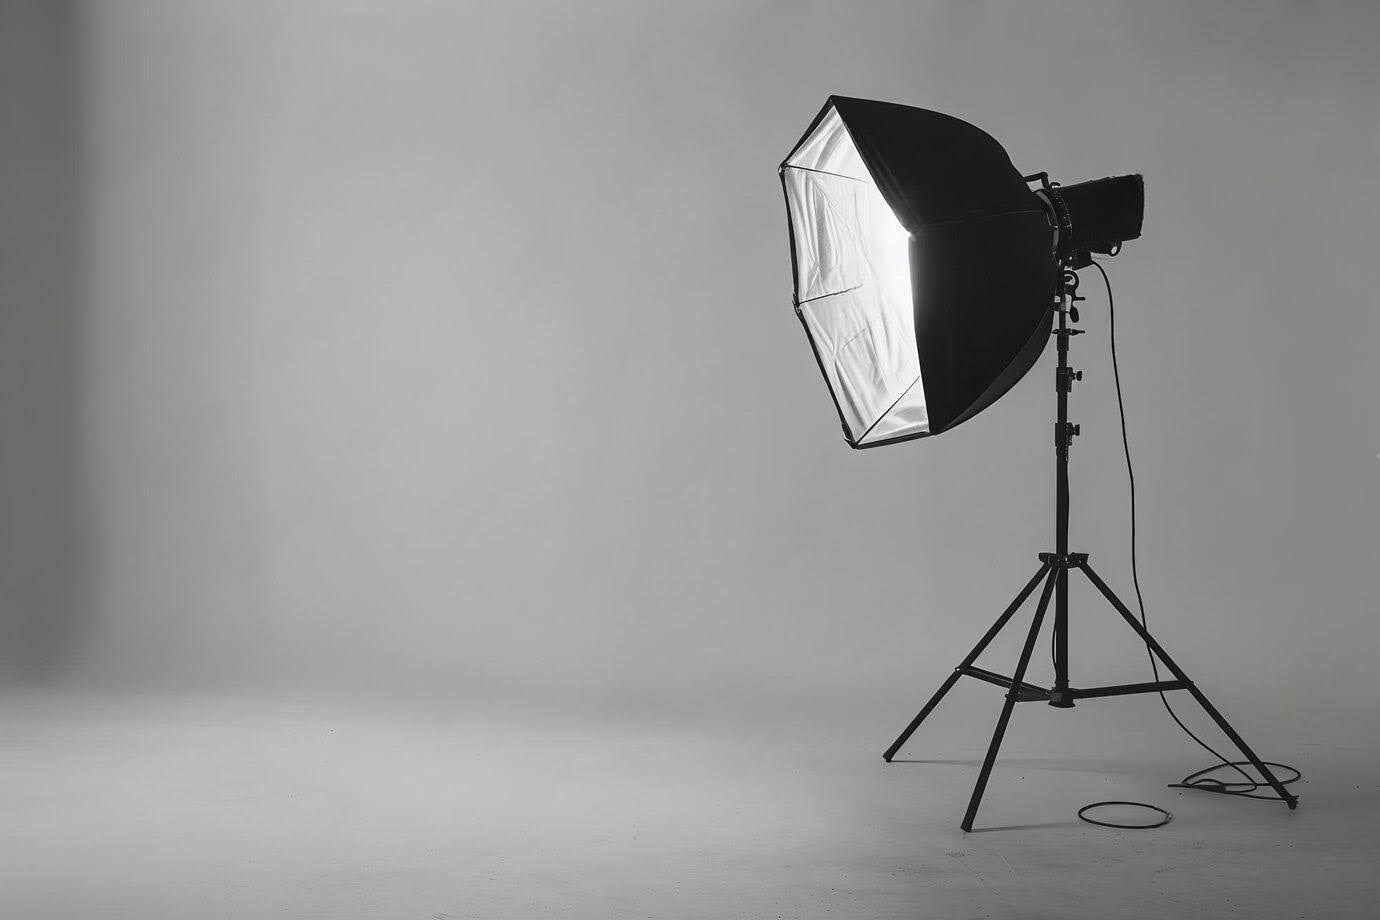
Softbox Lighting:
Use a softbox to create soft and even light on your product. It reduces harsh shadows.
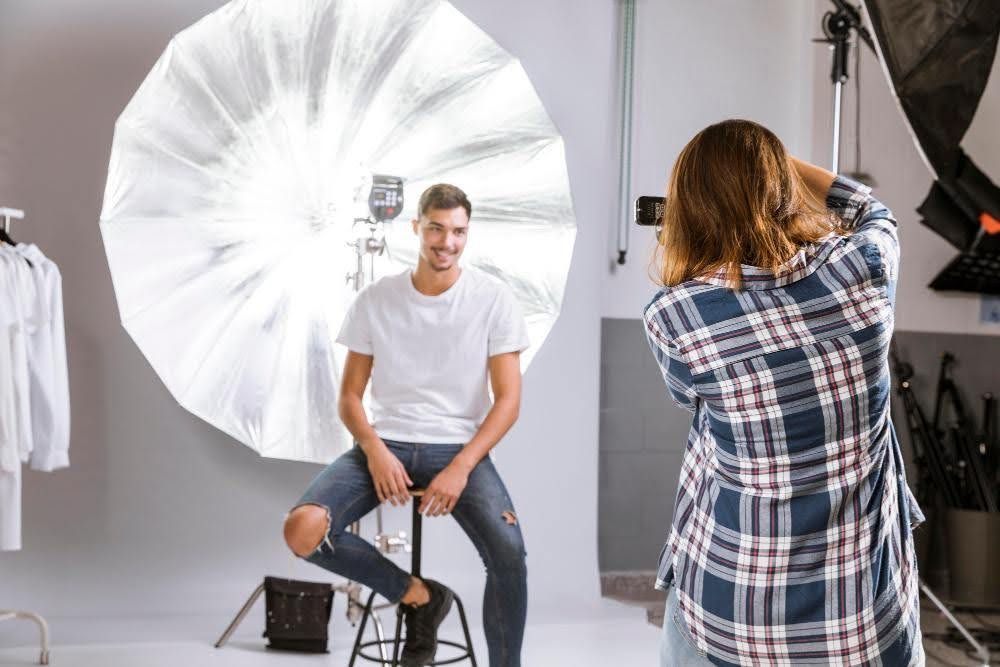
Light Positioning:
Here you should experiment with different angles. Front lighting always offers a clean look, side lighting offers depth, and backlighting provides that extra dramatic effect.
Strobe Lighting:
For the pros only, you can use strobes such as flash units. They offer more power and control over lighting. It's like having a full lighting crew in your department.
3. Using reflectors and diffusers to enhance lighting in product photography
These two are like key components of product photography.
Reflectors work to bounce back light to your product. They fill up the shadows, making everything look bright. They are like your personal assistants.
Silver reflectors add bright, crisp light and work best for shiny objects.
Gold reflectors give a warm, cozy glow to your product.
And diffusers? They reduce harsh and pesky shadows. You can go pro by buying an actual diffuser, or there is always DIY. You can use tracing papers or white fabrics as a diffuser. Place them between your light source and the product. Voila, instant soft focus lighting.
4. Creative lighting techniques to add depth and drama to product photos
Want to get creative? These little tips will make your product photography look 100 times better.
Colored Gels:
You can attach colored gels to your lights to get the most creative outcomes. These plastic wonders can turn any boring white light into moody blue or fiery red—whatever you want. They give vibrant hues and create a different kind of mood.
Backlighting:
We already talked about it. Place it behind your product. The glowing outline makes your product pop like high-end commercials.
Spotlighting:
Focus on a beam of lighting to create drama to draw attention.
Light Painting:
Feeling adventurous? Move your light source around your product during long exposure. It will create a dramatic and artistic effect.
5. Choosing the right lighting equipment for product photography
Choosing the right equipment is like picking the right outfit. As it sets the overall tone for the photography. Here are some of the essentials to get you started:
- Softboxes and Umbrellas: For soft, diffused outcomes.
- Ring Lights: For even, shadow-free lighting.
- LED Panels: For continuous lighting support. They are versatile and adjustable.
- Reflectors and Diffusers: To modify and control light.
- Light stands and clamps: To position lights precisely.

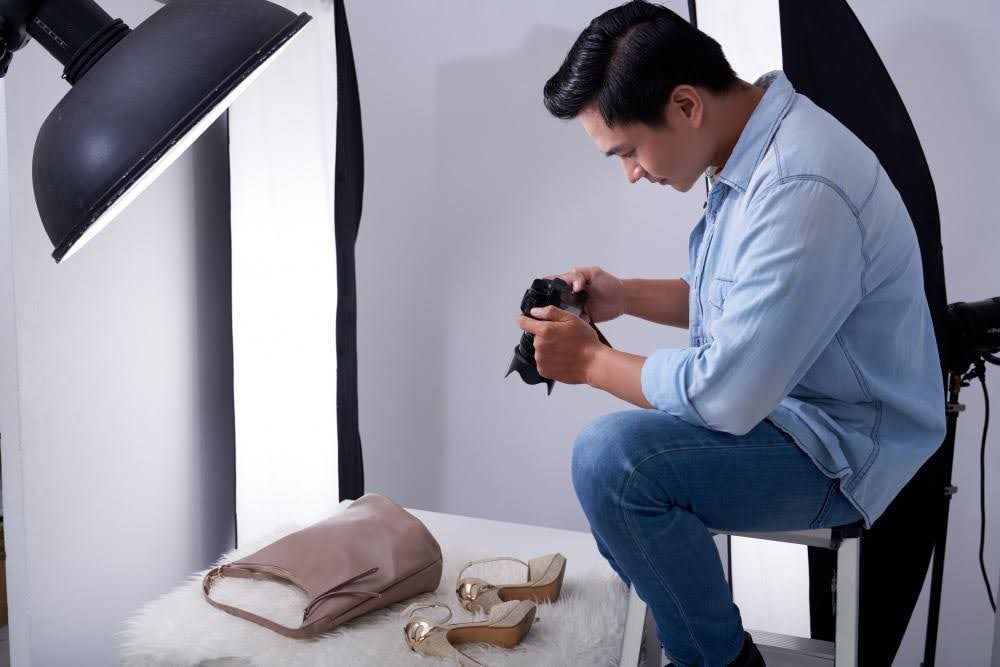
6. Lighting setups for different types of products
Different products need different lighting setups. For example, jewelry needs precision. Go for a macro lighting setup with softboxes and reflectors for that. It helps to highlight all the intricate details of the jewelry.
For big items like furniture, you need multiple light sources so that they evenly illuminate the entire product.
Clothing and textiles? Well, they need soft, even lighting. You have to make sure the colors and textures pop.
For reflective products like glass and metals? Diffuse, diffuse, diffuse. Here you have to position your light at angles to avoid reflections.
7. Editing techniques to fix product photo lighting
Sometimes, even with the best lighting, you need a little bit of touch-up. In that case, editing is your makeup artist.
Exposure Adjustment:
Use editing software like Adobe Photoshop to correct the exposure level. You need to make sure your product is neither too dark nor too bright.
Check the histogram for the tonal range. Aim for a well-balanced histogram with peaks across the spectrum.
White Balance:
It's about color accuracy. Adjust the white balance to make sure your product is true to color.
A warmer (yellow/orange) looks best for indoor lighting. Cooler blue settings work best for daylight.
You can use white or gray reference points of the image to set a custom white balance.
Highlight and Shadow Control: Tweak these features of your editing software to bring out the details of your product. Create a balanced outcome.
Dodging and Burning:
They are like applying makeup. You can highlight certain areas and shade others to create dimensions.
Clarity and Sharpness:
These adjustments make sure your product photo pops. Increase clarity to enhance mid-tone contrast. It gives your photo a sharper, more detailed look.
Use the sharpening tool to fine-tune the edges and details. Be careful not to overdo it. You can also sharpen specific areas that need emphasis.
Common lighting mistakes to avoid in product photography
Even with all the techniques, sometimes pros mess up as well. Here are some photography blunders that you need to dodge:
- Don't place lights too close to products or at weird angles unless you want your product to fail your brand.
- Too much exposure turns your product photos into distractions. Tone it down, please!
- Not enough light makes your product look like it's hiding in a shadow cave. Brighten up!
- Uneven light makes the lighting look patchy. We don't want that. Use reflectors and diffusers.
- Direct sunlight equals harsh shadows and blown-out highlights. Diffuse the light or shoot in the shade.
- Too much diffusion can turn your photo into a bland picture. Keep some natural shadow for depth.
- Frequent changes in lighting setups can make your product photography a total mess. Stick to one style throughout the photography.
Conclusion:
Well, there isn’t a single definitive answer to how to light product photos. By playing with hard and soft lighting, you will know how to bring out the textures of your products beautifully in the pictures.
Hopefully, all the tips and tricks will give you a solid foundation for your product photography. You will find your style, and even tell a story through your photography by practising.
Apply what we've shared and don't hesitate to experiment with different lighting. Practice is what makes every job perfect.
Written by
Mary Smith